Cloudflare is a content delivery network (CDN) and security service that can help improve the performance and security of your website. Here are the steps to get started with Cloudflare:
-
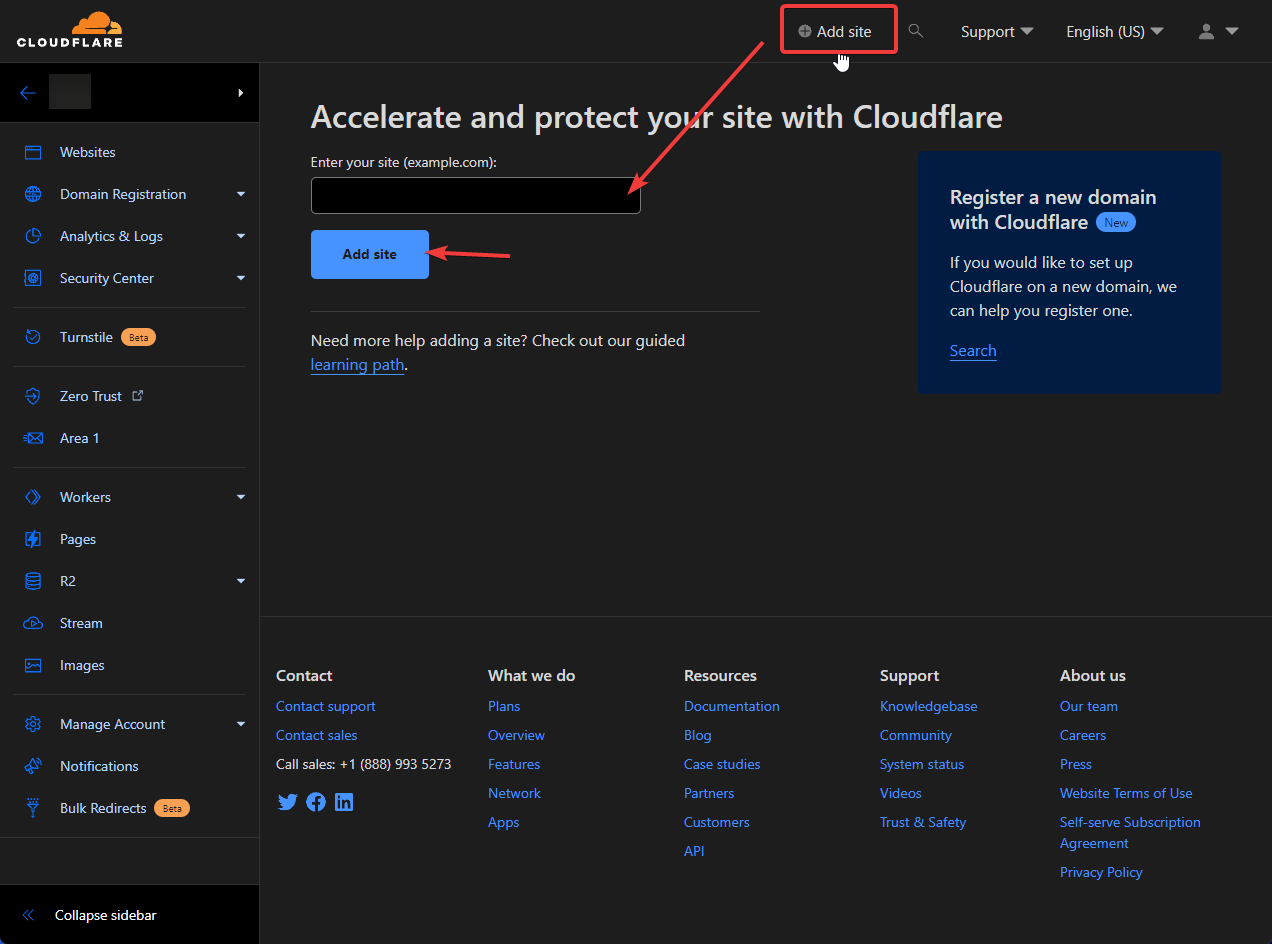
Click on Add site and enter your domain name to add it to Cloudflare:

-
After that, you'll be prompted to select a plan. There's a free option that should cover the basic needs of the majority of websites.
-
Review the DNS records: Cloudflare will automatically import most of your current DNS records. It will also provide you with the option to add more records at this point (you can also add them later). If everything looks good, you may proceed.
NOTE:
-
If you're hosting your domain on our plans, make sure to switch the Proxy Status of both the ftp and mail records from Proxied to DNS Only, otherwise, the SMTP and FTP will not work.
-
-
Next up, Cloudflare will provide you with new nameservers that you can use to point the domain to Cloudflare. Copy the values and change the nameservers of your domain.

After you specify new DNS records, propagation will start which can take up to 24 hours to fully complete.
Please note that from now on you must add any records manually at Cloudflare in case of changes or updates.
That's all!


